Editing your Location Hierarchy
Last updated: November 2, 2026
01 OPEN LOCATION SETTINGS
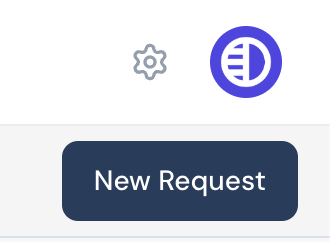
You can adjust your location hierarchy yourself in the Worksmith platform. To get started, select the gear icon in the top right corner of your dashboard.
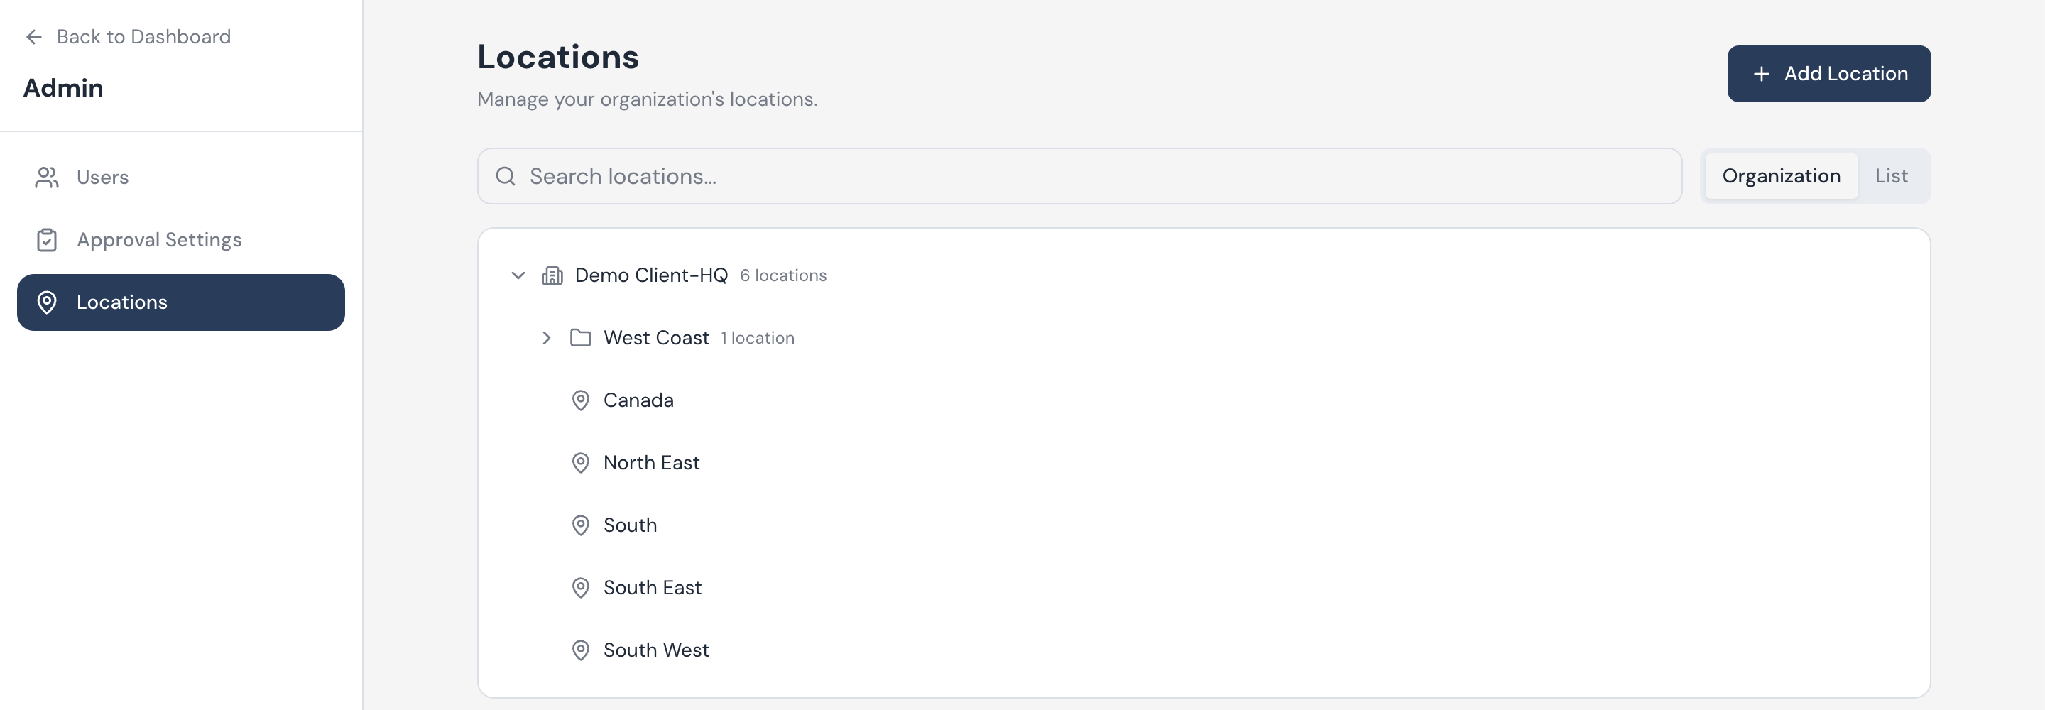
From there, select the Locations tab on the left. The Organization view shows your full hierarchy — each group and the locations nested under it.
02 CREATE A GROUP
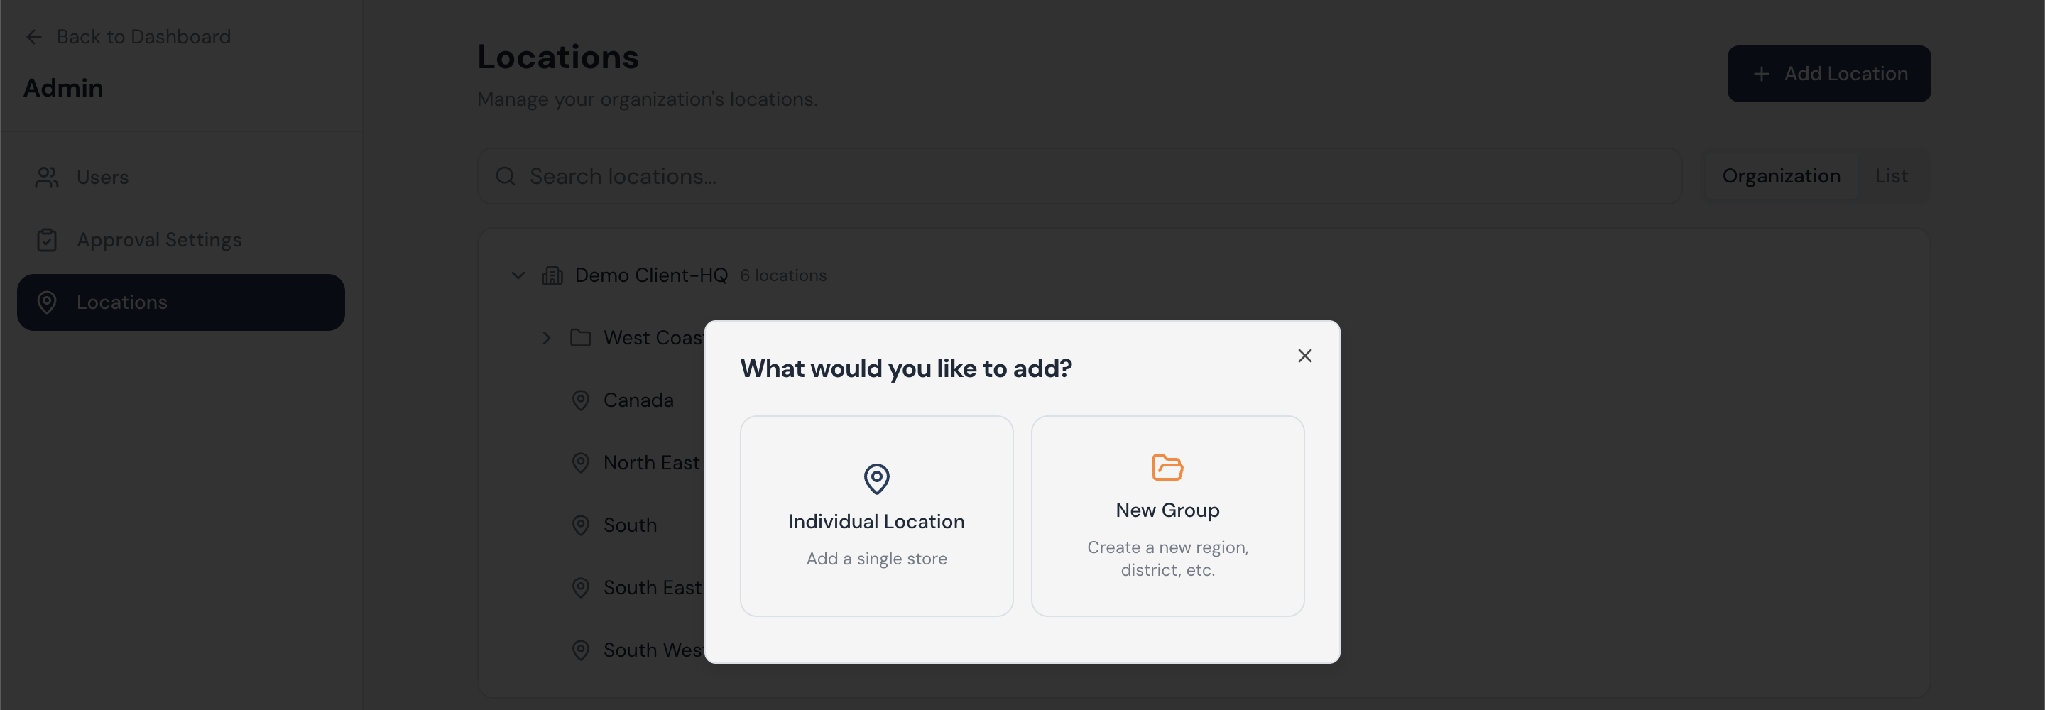
Select the “Add Location” button in the top right corner. You can add either an individual location or a new group, such as a region or district, to nest locations under.
Group details
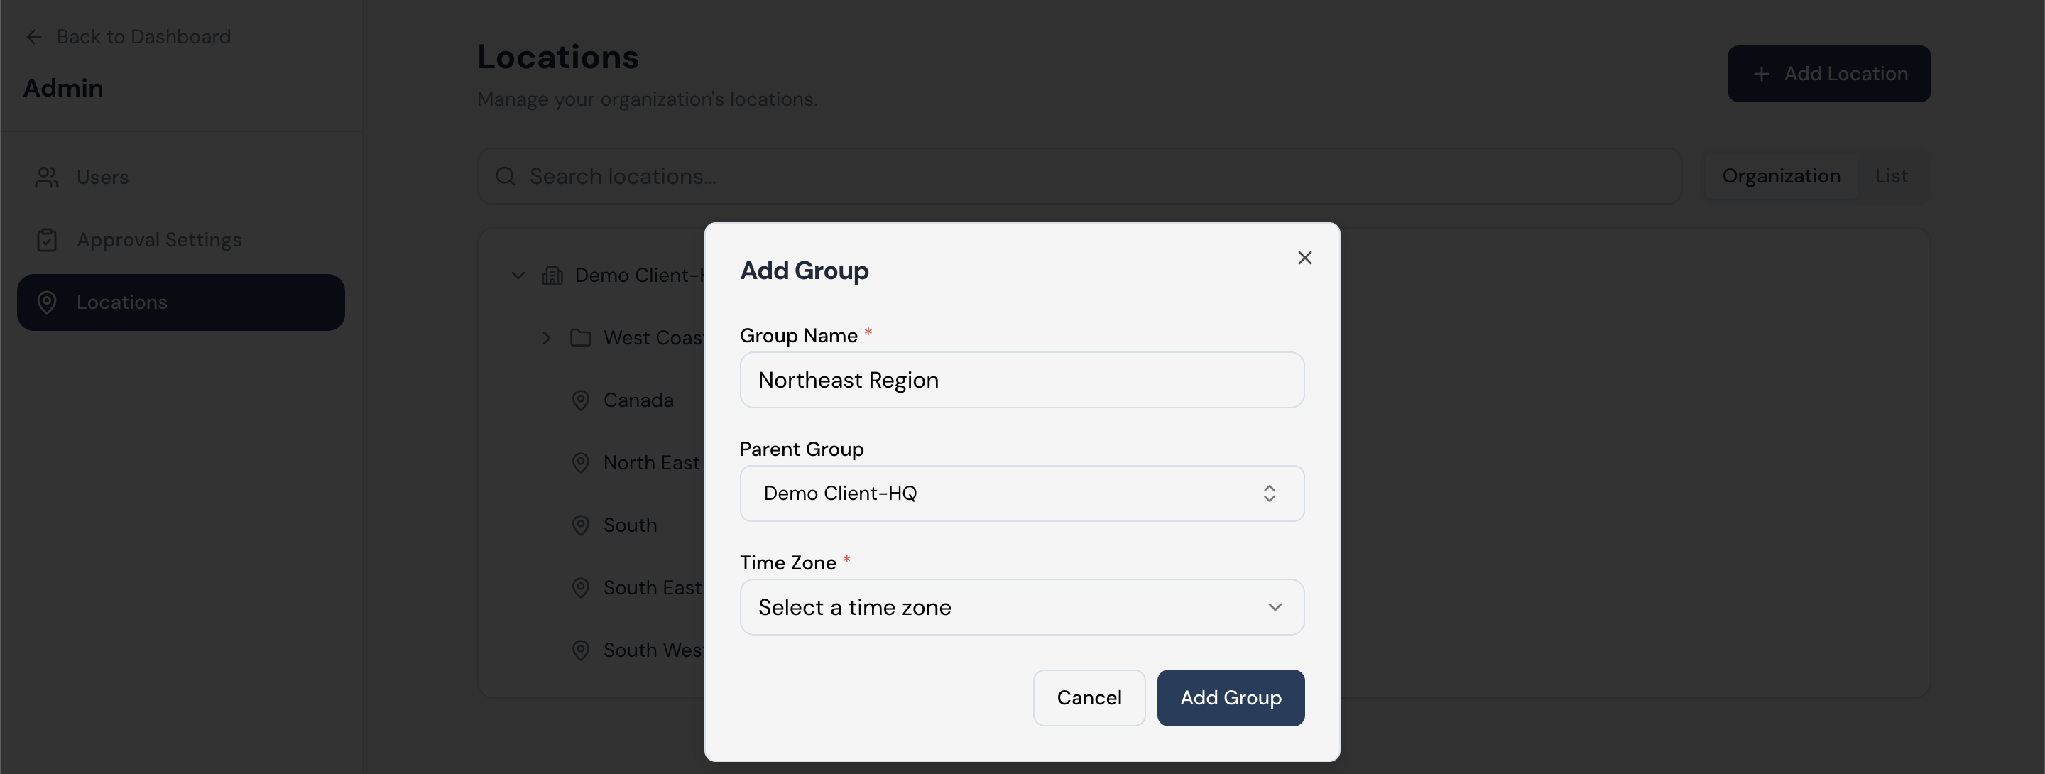
Enter a Group Name and choose the Parent Group it should live under. Lastly, select the appropriate time zone and select “Add Group.”
03 ASSIGN LOCATIONS TO A GROUP
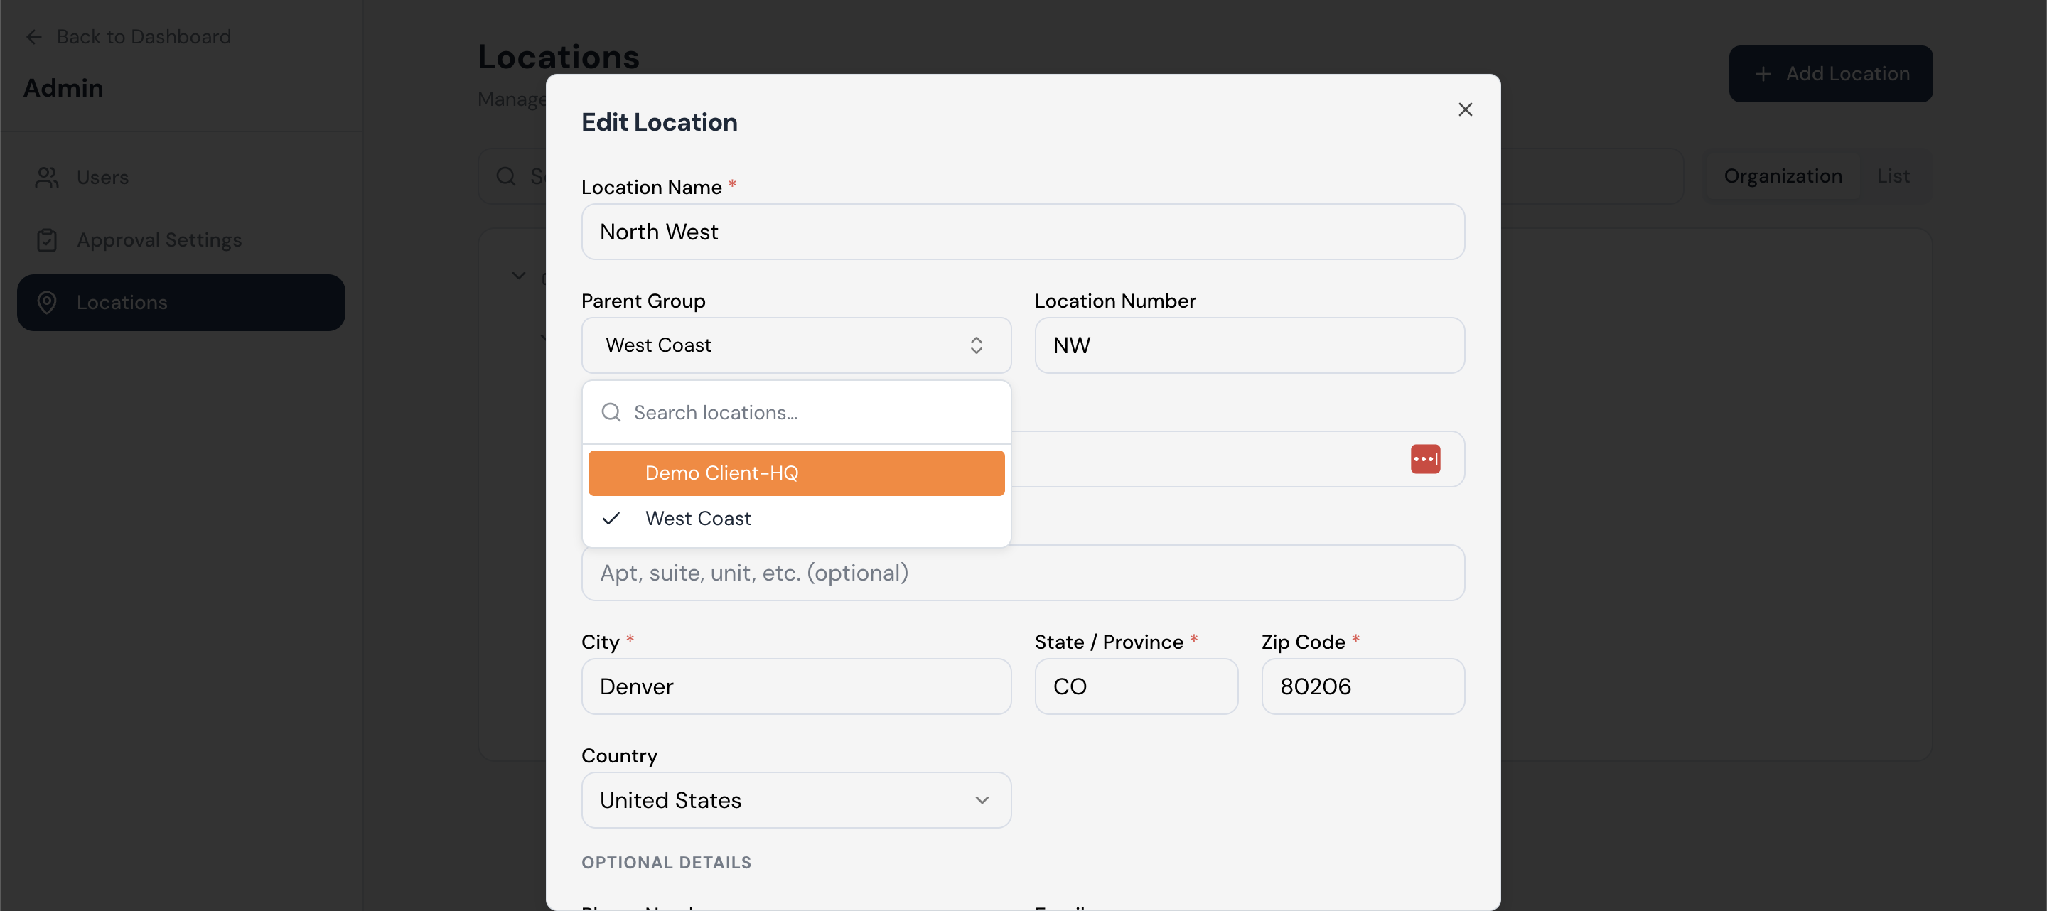
Once you’ve created a group, you can change the Parent Group that existing locations are nested under. Open the location and choose a new Parent Group from the dropdown.
In the example below, the North West store is moved from the default HQ parent group (Demo Client-HQ) to the West Coast group.
Your location hierarchy determines how your local and regional users are assigned to the locations they oversee. If you need help restructuring your hierarchy, reach out to your Service Manager. |